


Before you can do anything in the realm of knitting, you first need to start by casting on. There are many different ways to cast on stitches. As you might expect, most methods for casting on are starting your work. However, there are also methods for casting on that are used in the middle of your knitted work. The one that you chose will come down to personal preference, what your pattern calls for, and what you are making. In this post I go over 4 easy cast on methods.
Basic Cast On/Knit Cast on
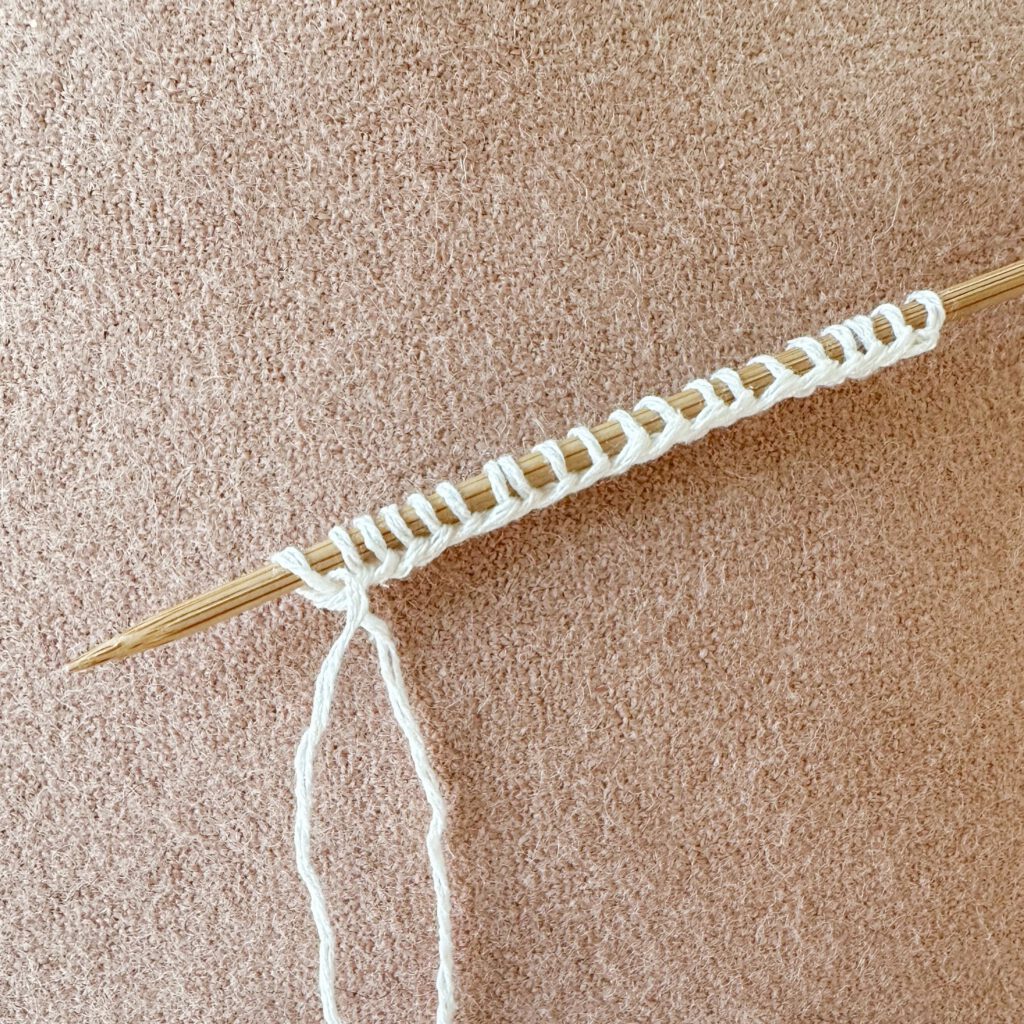
This cast on is great for starting up a piece of knitting. It works well regardless of whether you are knitting in the round or knitting flat. If you are a beginner knitter, this might be the best choice for you. The steps for this cast on are really easy to remember because they are very similar to a regular knit stitch. However, one thing to keep in mind is that this cast on can be a bit tight. If you need your beginning edge to be stretchy, you can either make sure your stitches are very loose, or try a different cast on method.
Steps
- Make a slipknot
- Place the slipknot on the needle and tighten
- With the needle in your left hand, insert the right needle from front to back through the first stitch
- Pick up the yarn and go out through the stitch
- Put the stitch onto your left needle
- Repeat until you have as many stitches as you need
Video Tutorial
Long tail Cast on
This is probably the most popular cast on method. It creates a nice neat edge which also has a bit of give, making it great for the edges of most garments. Another plus about this cast on method is that it is pretty easy and fun to do, once you get the hang of it. The one downside is that you have to make sure the tail end of your yarn is long enough to make all the stitches that you need. If you run out of yarn, you have to start your cast on over again.
Steps
- Tie a slip knot
- Place the slip knot on the needle and tighten
- The tail end of the yarn is wrapped around the thumb (facing toward you), the working yarn (facing away from you) around the index finger
- Lay both loosely in the palm of your hand
- Insert the needle under the left yarn on the thumb, pick up from the index finger and tighten
- Repeat until you have as many stitches as you need
Video Tutorial
Backward loop cast on
The backward loop cast on is a very simple technique to cast on stitches. The main difference with this cast on is that it is typically used in the middle of a knitted piece. The purpose is to bridge the gap between two sections of knitting. For example under the arm or along the neckline of a sweater. The steps to create these stitches are very straightforward. However, the stitches are not very structurally sound. So, the first round of knitting into the cast on stitches can be a bit finicky.
Steps
- Place your yarn over your index finger and thumb
- Steer your needle tip behind the yarn around the index finger and then in front of the yarn around the thumb – this creates a loop
- Tighten the yarn around the needle
- Repeat until you have as many stitches as you need
Video Tutorial
Judy’s Magic Cast on
This is a very cool cast on that allows you to start knitting seamlessly in the round at the closed end of a tube. For example, you can use this cast on at the start of a toe up sock. The steps for the cast on are actually very simple. However, like the backward loop cast on, the stitches that it creates are very loose and freeform. It is important to focus on keeping them a similar size to keep your work neat.
Steps
- Place the yarn over your left index finger and thumb with the tail of the yarn over your index finger and the working yarn over your thumb.
- Place one needle on the yarn and scoop the needle towards you to create a loop on the needle
- Hold both needle tips parallel, with the loop on the top needle
- Bring the yarn from your index finger under the bottom needle into the middle of the needles
- Bring the yarn from the thumb up through the middle and over the top needle
- Repeat until you have as many stitches as you need
- Begin knitting in the round
Video Tutorial
Casting on sets the foundation for everything else you’ll do in your knitting project. Each of the methods I discussed here has its strengths, whether you’re looking for something stretchy, sturdy, simple, or seamless. As you practice these methods, you’ll get a feel for which ones work best for different projects. Keep in mind, these are just a handful of cast on methods. There are many more techniques to try. And the more you practice, the more natural each technique will become. Before long, casting on will feel like a natural first step into whatever beautiful piece you’re about to create.

")

