

If you’ve ever admired a beautiful hand-knit sweater or blanket and wondered how to start knitting, this guide will walk you through everything you need. Knitting is both fun and rewarding as a hobby, and it’s probably easier to learn than you might think!
It might seem overwhelming to take the leap and start a new crafty hobby, but don’t worry! We will ease you into it, from choosing the right needles and yarn to casting on your first stitches and completing your very first project. Remember: even the craftiest grandmothers were beginners at some point. So, keep on reading if you want to get to know our best tips on how to start knitting as a beginner.
Topics in this knitting guide
Introduction to knitting and why you should start
Knitting’s origin and history
Before we get into how to start knitting and the practical do’s and don’ts, we wanted to give you a little history lesson about the origin of knitting. It might actually surprise you! While there is some uncertainty around the exact date, historians believe knitting originated in the Middle East and eastern Mediterranean around the 11th or 12th century. As a matter of fact, the earliest known knitted artifacts are socks discovered in Egyptian tombs!
From this humble beginning, knitting started to spread across continents, evolving alongside different cultures. In Europe for example, knitting was often used to create religious garments. As time passed, knitting evolved as an activity, becoming a practical and cherished skill practiced by all kinds of people to create garments for warmth and comfort.
Benefits of knitting in our modern society
While it’s been a minute since the world’s first knitting project saw the light of day, knitting continues to thrive as a craft and hobby. Modern technology has introduced new yarns and tools, but the fundamental act of manipulating yarn with needles remains the same. Whether you choose to follow classic patterns or explore contemporary trends when you’re learning how to knit, this activity offers a timeless way to express your creativity and practice a lovely tradition.
Additionally, knitting is actually more than just creating warm and cozy garments. It’s a gateway to a world of self-expression, relaxation, and mindfulness. For most of us, a big chunk of the day is spent scrolling or multitasking on all kinds of technology. By picking up needles and learning to knit, you’re allowing yourself to give your mind a rest and mindfully focus on one task. Some might even call knitting a form of meditation!
What supplies do you need to start knitting?
The tools you need to get started with knitting are quite simple. Chances are you already know the essential knitting supplies; a pair of trusty needles and beautiful yarn suitable for your project. That said, we really want to emphasize the suitable for your project part.
Knitting needles
If you are completely new to knitting, you might think that a knitting needle is a knitting needle. While that may make sense, the truth is that knitting needles come in a dazzling array of materials, types, and sizes. Don’t worry, though, we’ll break down how to find the suitable needles when you want to start knitting.
Materials
Metal needles: These are smooth and lightweight and will allow for fast knitting. However, their slipperiness might be challenging for beginners who are prone to dropped stitches.
Bamboo needles: A popular choice for beginners, bamboo needles offer a slightly grippy surface that helps prevent dropped stitches. They are lightweight and quite comfortable to hold.
Plastic needles: Affordable and readily available, plastic needles are a good budget option. However, they can bend or warp over time and might not be as pleasant to work with as other materials.
Type
Straight needles: The classic choice, straight needles are perfect for flat projects like scarves and dishcloths. They come in various lengths, with shorter needles ideal for smaller projects.
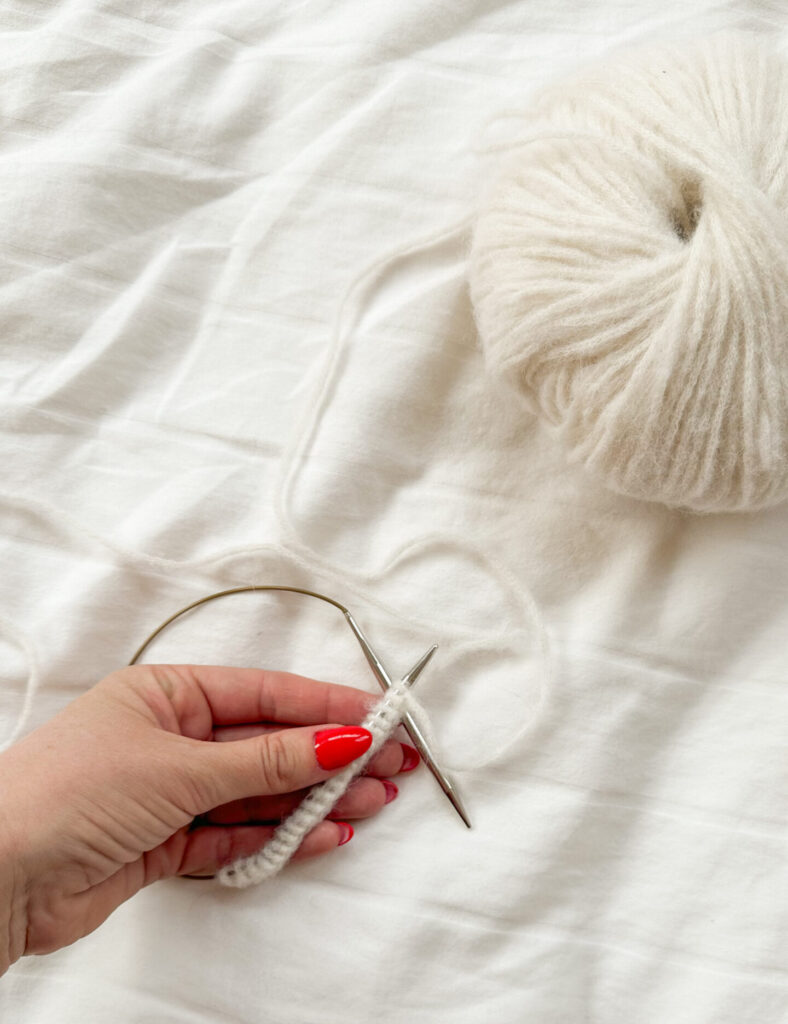
Circular needles: Offering versatility, circular needles can be used for flat pieces or knitting “in the round” for hats and socks. They consist of two pointed needle tips connected by a flexible cable, with varying cable lengths to accommodate different project sizes.
Double-pointed needles (DPNs): These short needles with points at both ends are used for knitting projects in the round, like socks and mittens.
Size does matter
Knitting needle sizes are usually denoted in millimeters (mm) or a system specific to your region (e.g., US sizes). The size you choose will depend on the weight (thickness) of your yarn. A thicker yarn requires larger needles to achieve the desired fabric density, and vice versa.
Most yarn labels recommend a needle size range that will create a balanced fabric. When starting out as a knitter, it’s best to choose needles within this recommended range. If you’re using needles too small for the yarn, the fabric may end up being tight and stiff. On the contrary, too large needles will create a loose, drapey fabric.
Our recommendation for beginners
For your first knitting projects, we recommend a pair of straight size US 8 (or 5.0mm) bamboo needles. This is because bamboo, as mentioned, offers a comfortable grip that helps you hold your stitches without them slipping off easily. Also, the size allows for easy stitch manipulation while ensuring your project progresses the way you want.
While straight needles are a great starting point for beginners, other types of needles like circular needles or double-pointed needles are great for projects like socks or hats. In other words; a great next step when you develop your skills and want to explore with other needles. However, the most important thing is to choose needles that feel comfortable to you.
You can read more about the best knitting needles for beginners here.
Beginner-friendly yarn
Yarn comes in a vibrant spectrum of different colors, textures, and weights. The weight of yarn, ranging from lace-weight (fine) to bulky (thick), determines the project’s final look and feel. For your first project, consider using a worsted-weight yarn. This medium-weight yarn is readily available and offers a good stitch definition. Not to mention, it is forgiving for beginners – forgiveness you will need! Everybody makes mistakes in the beginning.
Read more about yarn weights in our article “Guide to Worsted Weight Yarn”!
Choose your favorite yarn based on your knitting dreams
Don’t be afraid to experiment with colors and textures! A big part of the joy of knitting is selecting a yarn that really speaks to you and sparks your creativity. Even though your first knitting project is a learning experience, it’s important to choose yarn you’ll enjoy working with.
How to start knitting: Learn the basics
Now that you’ve got all the necessary supplies, it’s time to get into the technical bit. In this section, we’ll go through everything from how to hold the needles correctly to different stitches.
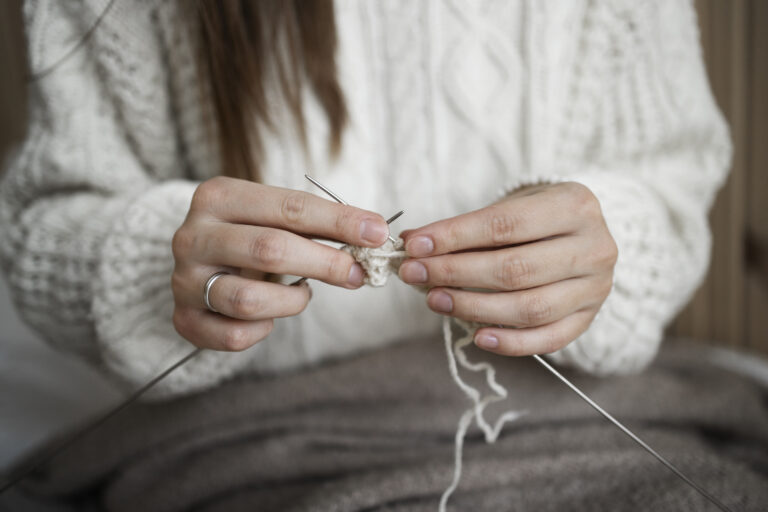
How to hold the needles
Isn’t it as easy as just picking up the needles and start knitting away? The answer is: not exactly. How you hold the needles will actually have quite an impact on how easy, or difficult, it is to cast on and make stitches.
So, there are different ways to hold the knitting needles. The important part here is to hold the needles in a way that feels comfortable to you. The recommended way when you’re learning how to knit however, is to hold your needle “like a knife”, with your hand over the needle.
How to knit a long-tail cast-on
Casting on is the process of creating the first row of stitches on your needles. This is going to be the foundation of your project going forward. There are many different cast on methods to choose from, but let’s take a look at a simple method called the long-tail cast on.
- Measure your long tail. The tail end of the yarn needs to be long enough to cast on all your stitches, so the more stitches you need to cast on, the longer your tail needs to be. You can measure the tail by wrapping your yarn around your needle once for each stitch you need to cast on. So for 10 stitches, you can wrap the yarn around the needle 10 times and that is about how much yarn you will need to use for your long tail
- Hold the yarn. Pinch your pointer finger and thumb of your left hand together. With the yarn tail coming towards you, drape the yarn over your pointer finger and thumb. With the rest of your left hand, grab both the strands dangling below. Now spread open your pointer finger and thumb wide.
- Cast on the first stitch. Insert the needle under the yarn stretched between your pointer finger and thumb. Lift the needle up and towards you while you twist your left hand to face your palm towards you. Now pick up the lower strand of yarn from your thumb, going under the strand. Then, pick up the strand of yarn coming over your pointer finger, going under the strand, and pull it through the loop that has formed. Pull the yarn tight for your stitch to form.
- Repeat. Continue repeating step 3, picking up the yarn from your thumb and then your pointer finger, pull through the loop and tighten, to create the desired number of stitches.
How to knit the knit stitch (Stockinette stitch)
- Cast On. Start by casting on the number of stitches required for your project
- Pull through the loop .Slip the right needle tip through the front loop on the left needle. Grab the working yarn with the right needle and pull it through both loops on the right needle. This will create a new stitch on the right needle.
- Slip and repeat. Slip the old stitch (now at the tip of the right needle) off the left needle. Congratulations on your first knit stitch! Now, repeat the steps 1 to 4 for each stitch on the left needle to complete the first row.
How to knit the purl stitch
Another one of the quite fundamental stitches is the purl stitch. This stitch creates a different texture compared to the knit stitch. You can tell that you’re making purl stitches because they look like little bumps. Let’s go through how to knit it together.
- Insert the right needle. After casting on, your working yarn rests over your index finger and lies in front of the work. Insert the needle from right to left through the first stitch on the left needle.
- Yarn around the needle . Yarn around the needle, push the loop back through the stitch, slip the stitch off the needle. Repeat these steps and start knitting away!
How to knit the garter stitch
Garter stitch involves knitting every stitch in every row on a flat piece of knitting, creating a textured, squishy fabric that looks the same on both sides.
Knit the First Row.
After casting on, knit every stitch in the row to create the garter stitch.
a) Insert the right needle. Insert the right needle tip under the front loop of the first stitch on the left needle.
b) Wrap the yarn. Wrap the working yarn around the tip of the right needle from back to front.
c) Pull through the loop. Pull the right needle and the wrapped yarn through the loop on the left needle, creating a new stitch on the right needle.
d) Slide and repeat. Slide the old stitch off the left needle. Repeat the steps for each stitch across the row until all stitches have been transferred to the right needle.
Turn Your Work.
Once you have knitted all the stitches in the row, turn your work so the needle with the stitches is back in your left hand and the empty needle is in your right hand. The working yarn should be positioned at the end of the row, ready to begin the next row.
Knit the Next Row
Knit every stitch in the new row, just like you did in the first row.
a) Insert the right needle. Insert the right needle tip under the front loop of the first stitch on the left needle.
b) Wrap the yarn. Wrap the working yarn around the tip of the right needle from back to front.
c) Pull through the loop. Pull the right needle and the wrapped yarn through the loop on the left needle, creating a new stitch on the right needle.
d) Slide and repeat. Slide the old stitch off the left needle. Repeat the steps for each stitch across the row until all stitches have been transferred to the right needle. Keep knitting every row in the same way. This will create the garter stitch pattern, with its characteristic ridged texture.
How to finish off when your project is finished
Embarking on a knitting project is nothing less than exhilarating. However, there is one last, equally crucial technique you need to learn: how to finish off your work. Concluding your project with finesse ensures that your piece comes together with a polished and professional look and feel. Here are some of our essential tips to help you master this important phase.
Binding off
The process of binding off, also known as casting off, is the first step in finishing and completing your knitting project. This technique helps secure your stitches, preventing them from unraveling.
- Knit two stitches
- Then use your left needle to lift the first stitch over the second and off the needle.
- Repeat this process until all stitches are bound off. This creates a neat, durable edge that gives your project that clean, neat finish.
Weaving in ends
Weaving in loose ends is an important step for your project’s aesthetics and durability. Use a tapestry needle to thread the tail end of your yarn and weave it through the stitches on the wrong side of your work. You should aim to follow the path of existing stitches to blend the yarn as seamlessly as possible into your piece. This will not only tidy up your project but also reinforce it against daily wear and tear.
Blocking
As you develop your skills and start going for more advanced projects, blocking is a transformative step that can make or break the appearance of your finished project. By gently wetting your piece and pinning it into shape, you can even out stitches and set the size. To do this you can use a blocking mat and rust-proof pins to hold your project in place as it dries. This step is especially important for lace patterns and garments, as it helps to achieve their intended drape and dimensions.

How to start knitting different projects
If you managed to do these stitches; congratulations – you’ve mastered the basics! Since you’re now familiar with the knit and purl, we can start diving into different projects. Though, it can be difficult to figure out where to begin with a world of possibilities at your fingertips. Luckily, we’re here to guide you through which factors to consider when choosing your first project. And if that wasn’t enough, we will also provide you with some basic tutorials for a classic scarf and a cozy blanket!
Choosing your very first knitting project
As we mentioned there are a few factors to consider when picking out your debut knitting project. You would want to pick something that will give you a sense of mastery and make your experience fun. The last thing we want to do is to shoot for a super complicated project that ends up leaving you frustrated and unmotivated.
In other words, it’s a good idea to embark on a project that is labeled “easy” or “beginner-friendly.” These patterns typically feature clear, straightforward instructions and minimal shaping, allowing you to get a smooth and enjoyable introduction to the craft. Additionally, you should consider how much time you can realistically spend on your knitting project. Smaller projects like scarves and dishcloths can provide a gratifying sense of accomplishment without demanding long-term commitment. Opting for quick and small projects can also be less intimidating.
Most importantly, you should opt for something you want to knit. Reflect on your personal taste and preferences. Do you revel in vibrant, eye-catching hues, or do you gravitate towards a more timeless, classic aesthetic? Select a project and yarn that really sparks your enthusiasm. Some excellent knitting projects for beginners that allow you to practice the basic stitches include scarves, blankets, headbands or simple tote bags.
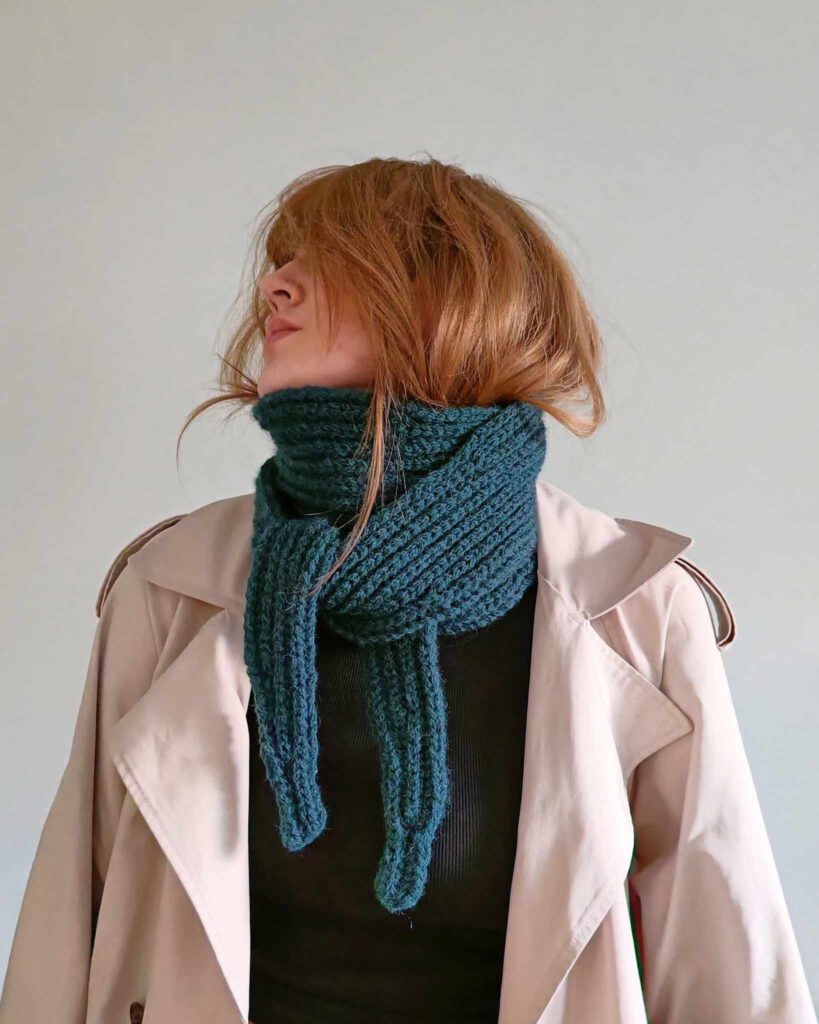
How to start knitting a scarf
A warm and chic scarf is a perfect introduction to knitting and makes for a useful and stylish accessory. In the section below, we will guide you through creating a basic garter stitch scarf (all knit stitches).
Gather your materials
- Yarn of your choice. Preferably about 100 to 200 meters of worsted-weight yarn.
- Straight knitting needles in the size recommended for your yarn (e.g., US size 7 or 8 / 4.5 or 5.0 mm)
- Scissors
- Tapestry needle
Instructions on How to knit a scarf:
- Cast On: Begin by casting on 20-30 stitches using the long-tail cast-on method. This will provide a comfortable width for your scarf.
- Knit Every Row
For a classic garter stitch, knit every stitch in each row. To do this, insert the tip of the right needle into the front loop of each stitch on the left needle. Wrap the working yarn around the right needle and pull it through to form a new stitch. Slip the old stitch off the left needle. Repeat this process for all stitches in the row.
3. Continue Knitting
Keep knitting rows until your scarf reaches the desired length, typically between 5-6 feet. This will give you a cozy, wearable scarf.
4. Bind Off
When your scarf is the length you want, it’s time to bind off the stitches. Knit two stitches, then pull the first stitch over the second stitch and off the needle. Knit one more stitch and repeat the process until all stitches are bound off, leaving a secure edge.
5. Weave in Ends
Use your tapestry needle to weave in the yarn tails from the cast-on and bind-off edges into the side seams of your scarf. This will give your scarf a neat and finished look.
How to start knitting a blanket
There is something extra rewarding about knitting something practical that you’ll get good use out of. Besides, doesn’t a hand-knitted blanket feel extra warm and cozy? A blanket is a great option as a beginner knitting project. Let’s go through how to knit one together!
Gather your materials
- Worsted-weight yarn in your desired color, and a quantity that fits the desired size of the blanket
- Straight knitting needles in the size recommended for your yarn (e.g., US size 10 or 11 / 6.0 or 8.0 mm). Larger needles are often used for blankets to create a looser fabric.
- Scissors.
- Tapestry needle.
Instructions on How to knit a blanket:
- Cast On. Start by casting on a multiple of 4 stitches (e.g., 40, 44, 48) using the long-tail cast-on method. This helps ensure a clean edge.
- Knit every row. Similar to the scarf, knit every stitch in every row using the garter stitch technique (explained earlier).
- Increase for Rectangular Blankets (Optional). If you want a rectangular blanket that’s wider than it is tall, you’ll need to increase the stitches at the beginning or end of specific rows. You can have a look at a beginner-friendly blanket pattern for detailed instructions on where and how many stitches to increase.
4. Continue until desired size
Keep knitting rows until your blanket reaches your desired width. A good starting width for a lap blanket is around 36-40 inches.
5. Shape for a square blanket (optional)
To create a square blanket, simply continue knitting until the length matches the width.
6. Bind off
Once you’ve reached the desired size, bind off all stitches using the method mentioned in the scarf project (knit two together, pull the first stitch over the second).
7. Weave in the ends
Weave in all yarn ends using your tapestry needle for a neat and polished look.
Do you want even more inspiration on beginner-friendly knitting projects? We have an entire blogpost about knitting projects for beginners!
Delving deeper into the world of knitting
Once you’ve mastered the basics, you can start dreaming of your future knitting adventures. Taking a step further from simple scarves and blankets opens up a world of opportunities! Get ready to explore everything from intricate patterns and luxurious yarn, to advanced techniques that can elevate your knitting skills to new heights.
Exploring more advanced techniques
As you gain confidence, you can start to challenge yourself with more advanced techniques such as cabling, lace knitting, and colorwork. Chances are you have spotted more than a few cable-knitted sweaters in your lifetime. The cabling technique is done by creating textured patterns that mimic twisted ropes, adding a sophisticated touch to any project. The lace knitting technique, with its delicate and intricate openwork designs, requires precision and patience. In return, you’re rewarded with stunningly beautiful results. Colorwork is another advanced technique that will add a unique touch to your project. This includes specific techniques like Fair Isle and intarsia, that allow you to incorporate multiple colors into your projects, creating intricate patterns and vibrant designs.
Experimenting with different yarns
Another way to dramatically change the look and feel of your projects, and add a magical touch of uniqueness is to experiment with different yarns and fibers. Natural fibers like wool, alpaca, and silk offer distinctive textures and qualities, while synthetic fibers can be more durable and affordable. You can even find blended yarns that combine the best of both worlds. These are a great option if you’re looking for a mixed balance between softness, strength, and versatility.
Join the Knit&Note community
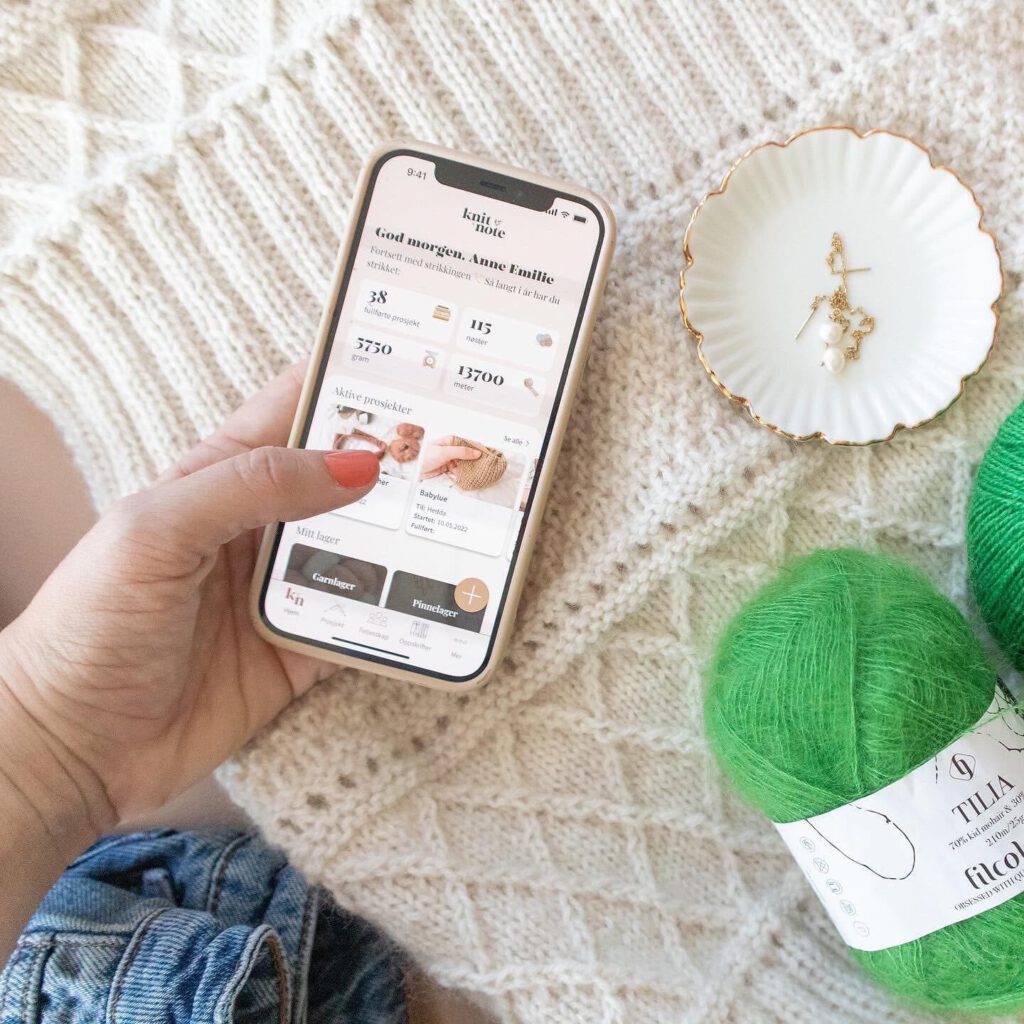
Knitting can be a wonderful social activity, and by joining the Knit&Note community you can discover heaps of both support and inspiration. Maybe you’ll even make some new friends with shared interests! By downloading our knitting app, you can have a trusted knitting companion with you at all times. We know everything about the common struggles for beginner knitters, and in our knitting community, you’ll find it easier to stay motivated and get a consistent refill of inspiration. Explore the different features of the Knit&Note App, and get ready to pick up those needles and start knitting away.
How to start knitting in conclusion
Learning how to knit offers a delightful blend of creativity and relaxation. Additionally, you can enjoy the perk of having hand-made garments and pieces you can use or wear. Through this extensive guide, we have walked you through everything you need to know to start knitting from the history of knitting to specific techniques and tutorials for basic projects. By gathering the essential supplies, learning about different yarn types, and reading our introduction to the basics, we hope to have lit a spark in your inner knitter.
To conclude this guide we also want to provide you with our last and – and perhaps most valuable – tips for beginner knitters: remember to be patient and have fun! Embrace the process of growth that comes from trial and error. Rome wasn’t built in a day, and neither is the perfect knitting project. The most important thing is to enjoy the journey, and you’ll discover how knitting can become a newly found, lifelong passion!

")