Content writer and knitter. I have been knitting for most of my life and I love the feeling of satisfaction and achievement when I finish a project.
Table of Contents
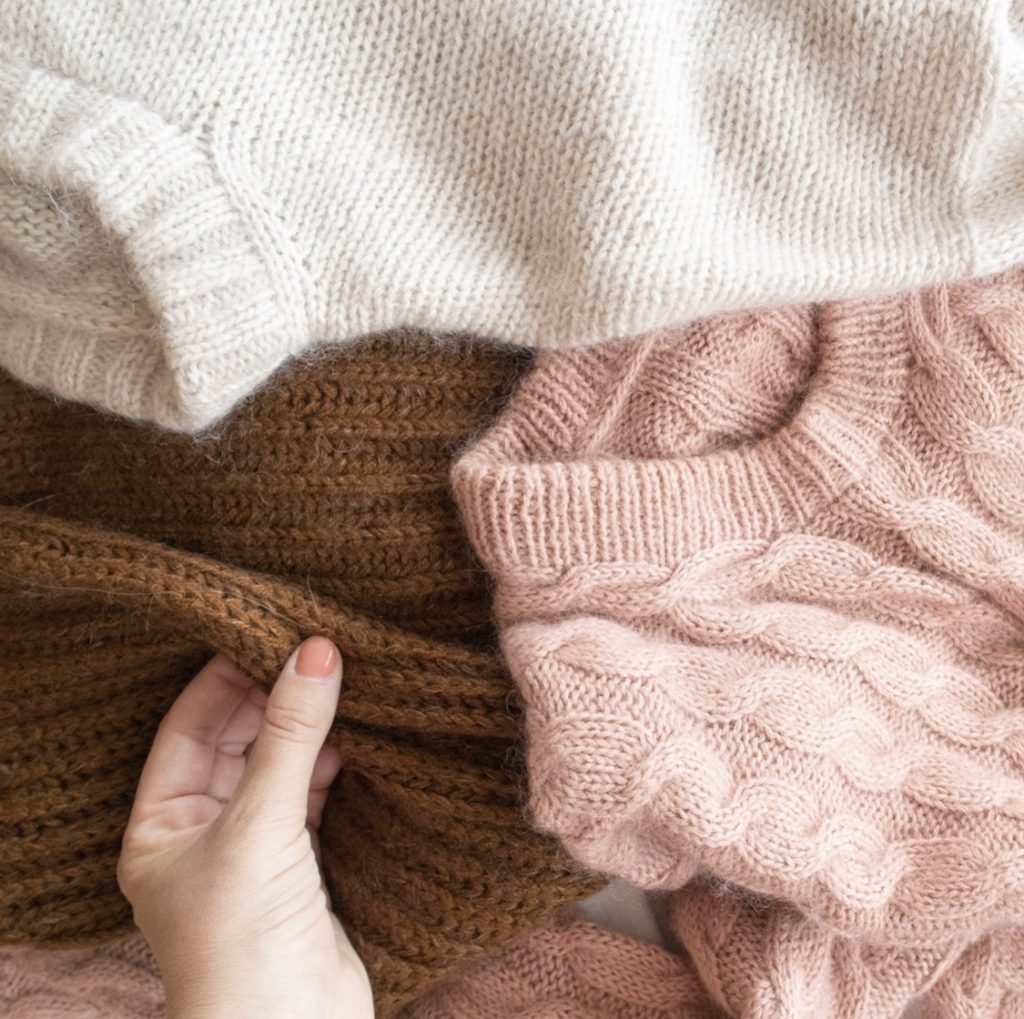
Cables are a popular motif in warm sweaters for the fall and winter. This is probably because they bring both form and function to knit garments. So let’s discuss the anatomy of a cable.
Form
Cables are a very versatile design element. They can be incorporated into many types of garments. For sweaters in particular, they can be included in many different ways. On the body of the sweater, along the sleeves, as a small accent, or a combination of all these things. On top of having a variety of placements to choose from, there are also many types of cables.
Types of Cables
There are too many types of cables to mention. Even when I think I’ve seen it all, I always see a new and innovative combination of cables. So I will just mention a few of the most commonly seen cable motifs.
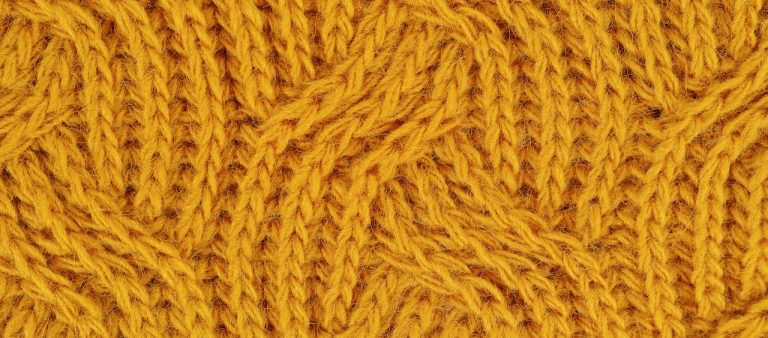
Basic Twist
This is the most basic cable. It looks like two sections of yarn are twisting around one another.
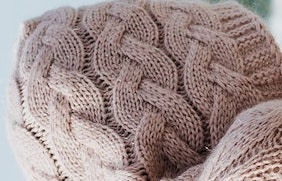
Braid
This is just like a braid you would put in your hair, but made from yarn.
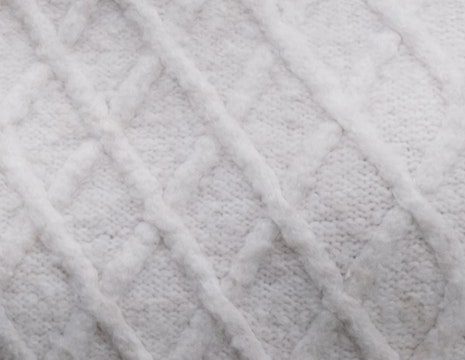
Travelling Cable
These cables go over and under one another in a variety of patterns.
Function
Yes, cables are beautiful and intricate to look at, but they serve a purpose too. Because of how cables are formed, by overlapping and crossing over sections of yarn, it adds a thickness to the knitted fabric. This increased thickness adds to the warmth of the garment. So when you see a sweater with cables all over the body and along the arms, it is beautiful, and it will keep you toasty as well.
Creating a Cable
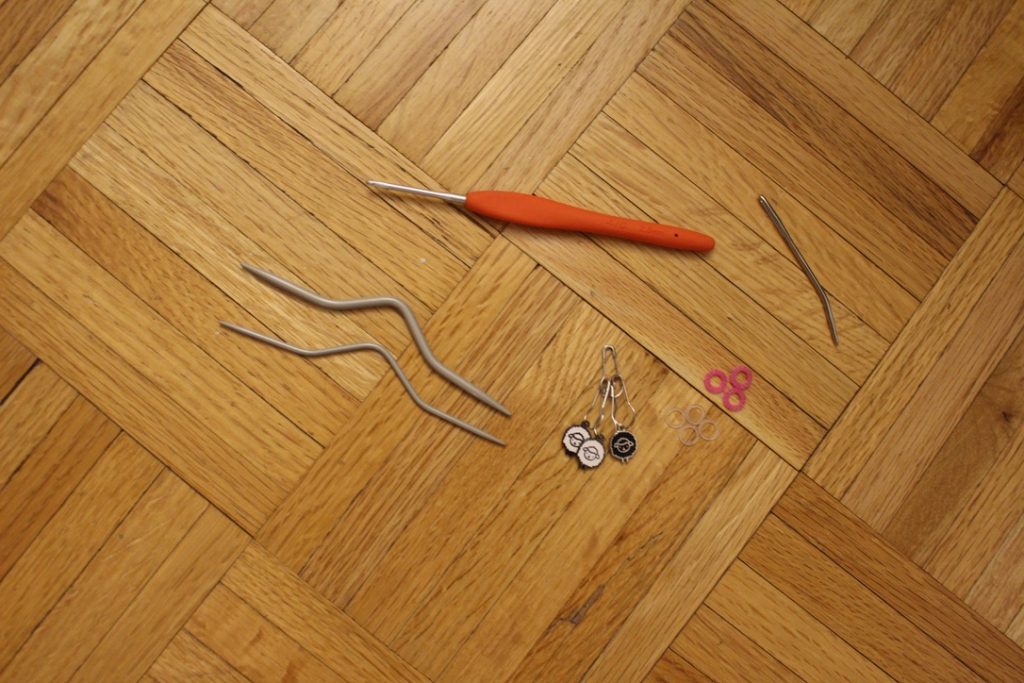
In order to include a cable in your knitted design, you will need a special tool to help you, appropriately called a cable needle (as well as all your normal knitting supplies). These come in different shapes and sizes, but typically it looks like a double pointed needle with a v shape bent into it. The purpose of this bend is to keep your stitches safely resting as you put them to the side and knit other stitches.
General Steps to Knit Cables
Because there are so many types of cables, I won’t get into specifics here, but I will talk about the general steps involved.
First, many cables will have purl stitch around the cable, and then the cable itself is made out of the knit stitch. This is so that the cable pops out more, but this isn’t mandatory for a cable.
Once you get to the place where your cable will be, you will place some stitches on your cable needle. The number of stitches will depend on how wide your cable motif will be. It can be as little as one or two stitches, or as wide as half your stitches. Then you will hold the stitches on your cable needle either in front, or behind your work. This will depend on whether you want you cable to twist to the left (hold in front) or to the right (hold behind).
The final thing I will talk about is how often do you twist. This will depend on what look you are going for and how wide your cable is. Either way, you aren’t going to twist your stitches every row. You have to knit a number of rows equal to approximately the width of you cable until you can twist the cable again. This is just a general rule, and there are certainly exceptions. However, don’t try to twist it again too quickly. When in doubt, follow a well written pattern.
I hope this was a useful guide to learning the basics of the anatomy of a cable. They really earn their popularity by being both beautiful and useful. Not to mention, they are pretty fun to knit. I hope you get to use cables in an upcoming project this winter.
Download our app
Download our free app for easy-to-follow patterns and get started with recipes designed for all skill levels.
Your personal knitting universe – Simplifying your knitting life


")